The endpoint team at Huntress is focused on providing telemetry and protections around real adversary threats. One thing we've noticed that's often overlooked is adversaries leveraging Microsoft Defender Antivirus (MDAV) settings to circumvent scans on their malicious binaries. Obviously, turning off Defender completely is ideal for adversaries, but the setting we’re going to discuss today is MDAV exclusions.
Exclusions are a capability that Microsoft has exposed. They allow a user with administrator privileges or higher to circumvent AV scans on folders, binaries, and IP addresses. Depending on the use case, an attacker can leverage Exclusions more stealthily than shutting the antivirus down completely.
Before we dive into the adversary tradecraft, let’s take a look into the internals of MDAV exclusions. Microsoft supports four types of Antivirus exclusions, which support different actions on the exclusions:
Exclusion Types
| Exclusion Type | Description |
|---|---|
| Process | Disables real-time scanning on files that are opened by specific processes, i.e., specified (source) process is not scanned. |
| Path | Excludes entire file paths from real-time/scheduled scans. |
| Extension | Disables real-time/scheduled/custom scans on certain file extensions. |
| IpAddress | Disables network packet inspection incoming from a certain IP. |
There are a few different ways someone can interact with MDAV exclusions:
- PowerShell (Set-MpPreference/Add-MpPreference)
- WMI (MSFT_MpPreference Class)
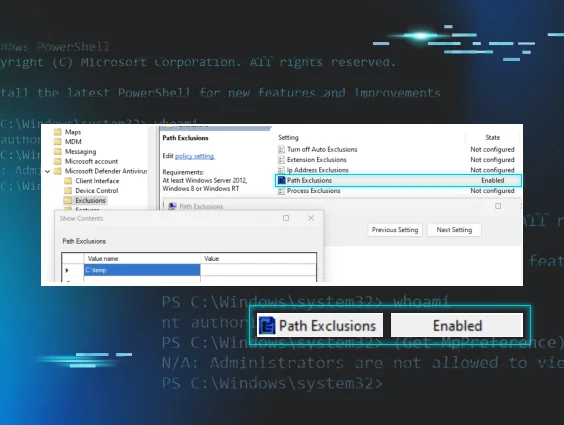
- Group Policy (GPO)
- Direct Registry Modification
When someone sets an exclusion via PowerShell, the call execution goes through the MSFT_MpPreference WMI Class. Then it makes its way through COM & RPC to eventually transition execution to MsMpEng.exe (the MDAV binary). MsMpEng.exe then makes a registry modification to the HKEY_LOCAL_MACHINE\SOFTWARE\Microsoft\Windows Defender\Exclusions registry key.
If someone creates an exclusion via a GPO, the execution flow often goes through the GPO svchost (C:\Windows\system32\svchost.exe -k netsvcs -p -s gpsvc) which sets a registry value within the registry key HKEY_LOCAL_MACHINE\SOFTWARE\Policies\Microsoft\Windows Defender\Exclusions.
Note: This is a different registry key than the one that MsMpEng.exe modifies. However, whenever someone tries to query the Defender exclusions, it will query the exclusions set by GPO and MDAV. Figure 1 shows a ProcMon result while running (Get-MpPreference).ExclusionPath in PowerShell.

Now that we understand MDAV exclusions a little bit better, let's dive into attacker tradecraft.
Adversary Tradecraft
As you can probably tell, exclusions are a great way to circumvent MDAV scans, and the two types of exclusions that are most used and valuable to an attacker are Path and Extension exclusions. When those two exclusions are set, the path/process that matches that exclusion is removed from scheduled scans, on-demand scans, and always-on, real-time protection and monitoring. We see this with the following adversary campaigns:
GootKit - 2019
Creates an MDAV
path exclusion via the MSFT_MpPreference WMI Class.
WhisperGate - 2022
Creates an MDAV path exclusion for the C:\
Drive via PowerShell’s Set-MpPreference CmdLet
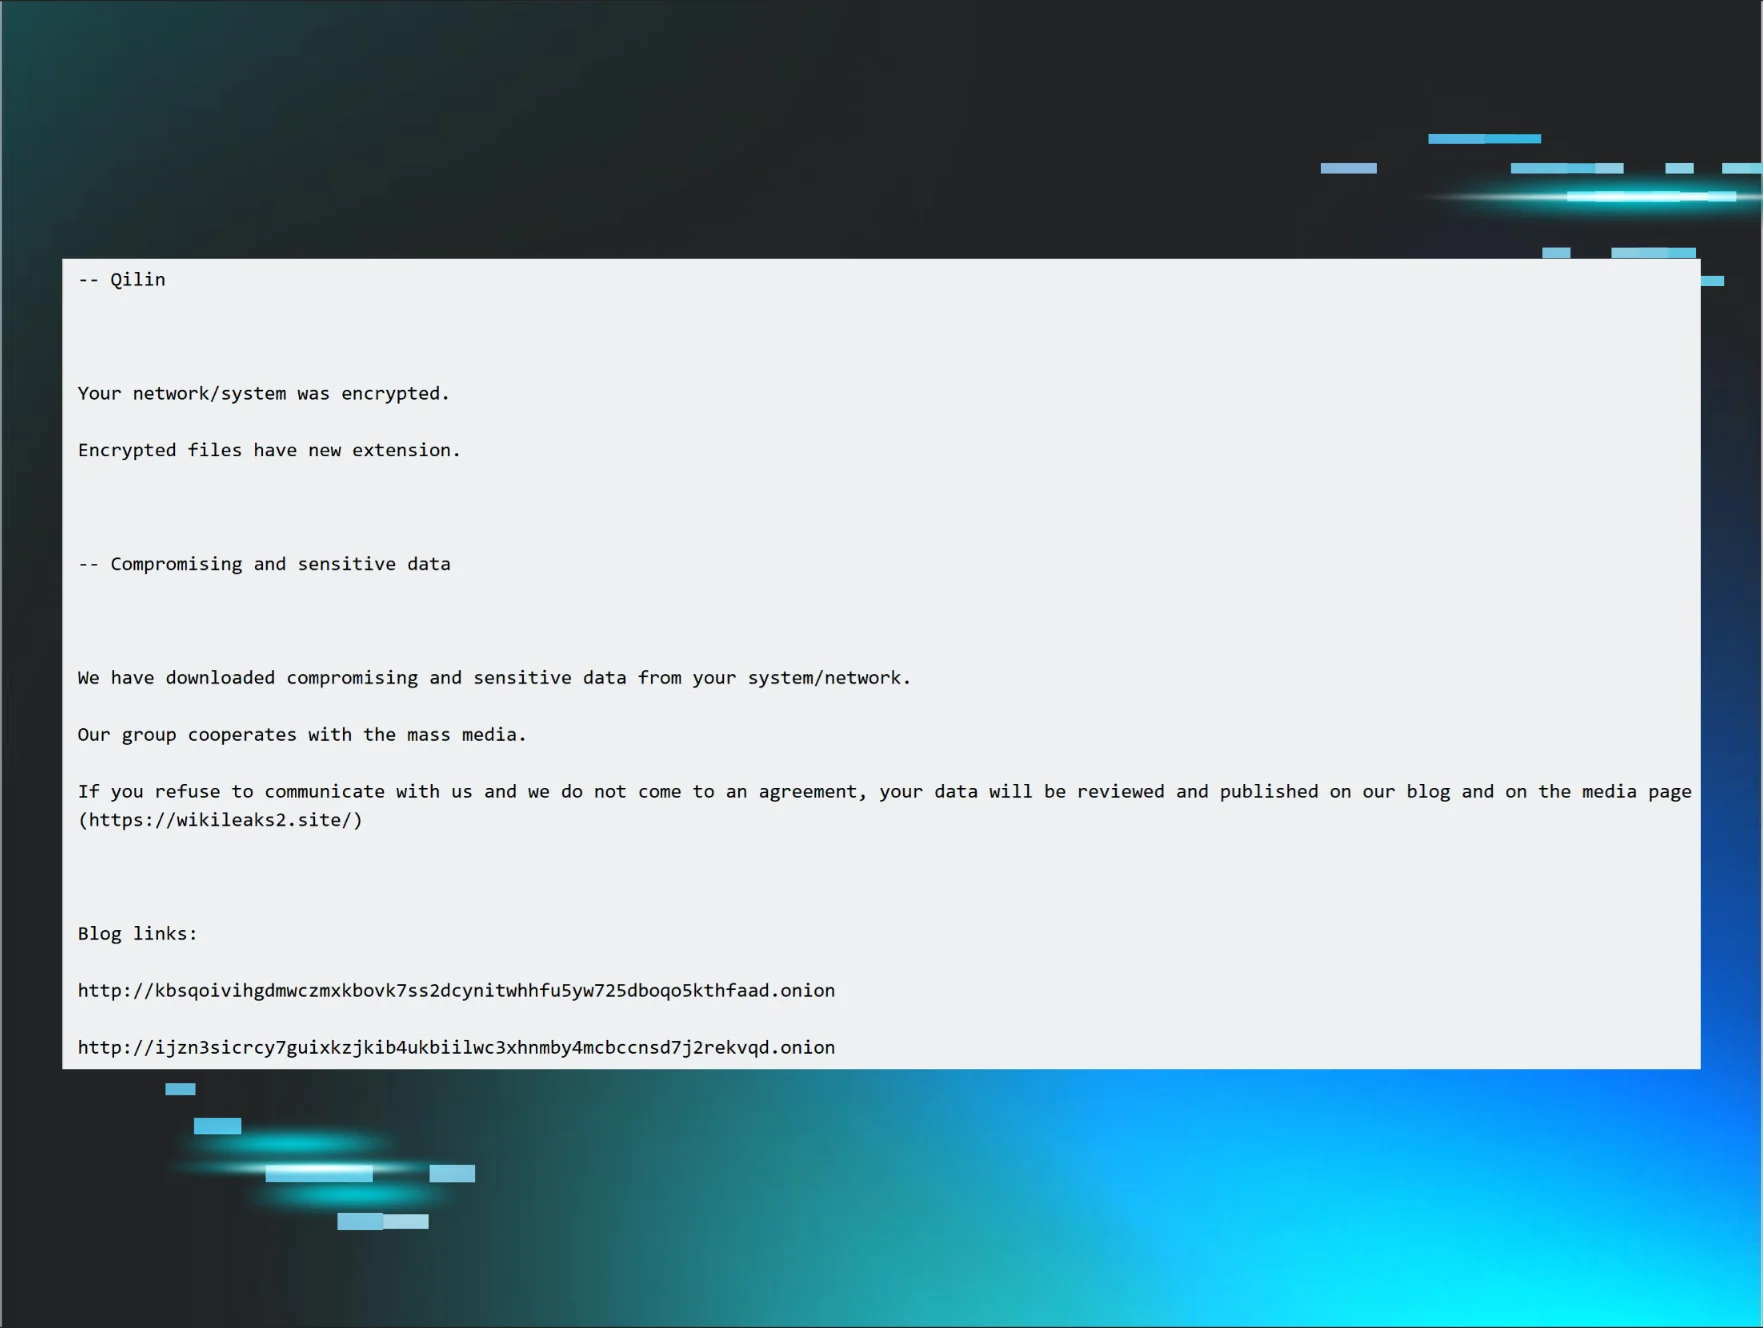
Muddled Libra - 2024
As mentioned above, plenty of ways exist to create an entry into the exclusion policy—PowerShell, WMI, GPO, and direct registry modification. Let’s take a look at an example of each:
PowerShell:
Set-MpPreference:
Set-MpPreference -ExclusionPath C:\Temp
Add-MpPreference:
Add-MpPreference -ExclusionPath C:\Temp
WMI:
Add Method in MSFT_MpPreference Class:
Invoke-CimMethod -Namespace root/Microsoft/Windows/Defender -ClassName MSFT_MpPreference -MethodName Add -Arguments @{ExclusionPath=@("C:\Temp");
ThreatIDDefaultAction_Ids=@([Int64]1,[Int64]2,[Int64]3,[Int64]10); ThreatIDDefaultAction_Actions=@([Byte]1, [Byte]2, [Byte]3, [Byte]10); Force=$true}
GPO:
Computer Configuration -> Administrative Templates -> Windows Components -> Microsoft Defender Antivirus -> Exclusions

Direct Registry Modification:
Due to MDAV locking down the ability to directly write to the KEY_LOCAL_MACHINE\SOFTWARE\Microsoft\Windows Defender\Exclusions registry key, it isn’t feasible to directly modify it. However, an attacker could directly modify the Paths value for the following GPO registry key: HKEY_LOCAL_MACHINE\SOFTWARE\Policies\Microsoft\Windows Defender\Exclusions. The following command shows one such modification in order to add the C:\temp folder to the exclusion:
reg add "HKLM\SOFTWARE\Policies\Microsoft\Windows
Defender\Exclusions\Paths" /v "C:\Temp" /t REG_SZ
The only caveat is that this policy requires a reboot to take place.
But wait…there’s more.
Another interesting thing we found during this initiative is that attackers can set the following registry key value to “hide” exclusions from administrators when they try to query them:
HKLM\SOFTWARE\Policies\Microsoft\Windows
Defender\HideExclusionsFromLocalAdmins
Figure 3 shows attempts to query exclusions before and after the HideExclusionsFromLocalAdmins registry value is set. As you can see, the administrator is unable to view the exclusions by querying them via PowerShell.

Although this registry value says “HideExclusionsFromLocalAdmins,” it also stops SYSTEM users from querying this data, as seen in Figure 4.
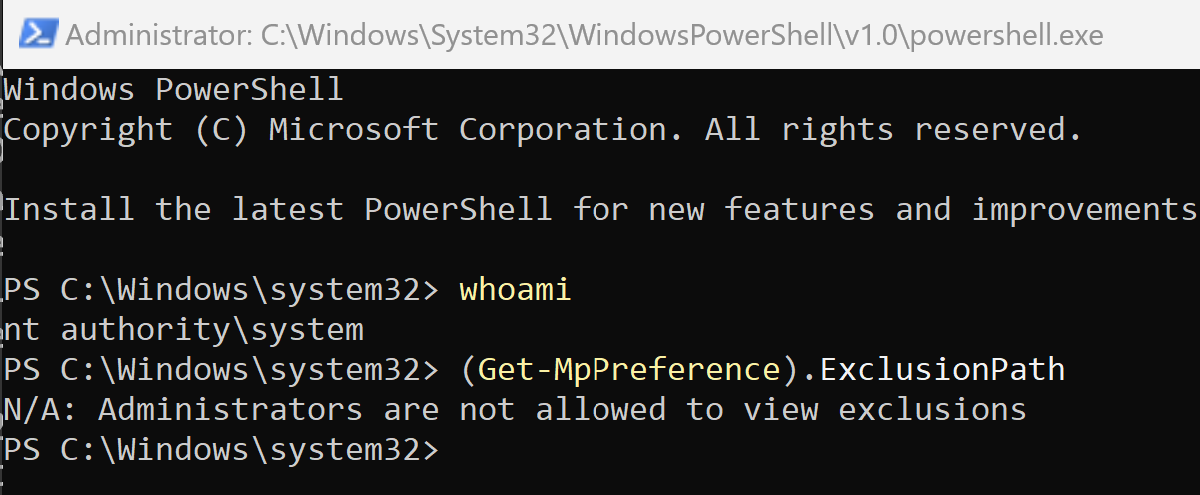
This is obviously problematic because, depending on how products are querying the exclusions list, it allows attackers to potentially hide the exclusions they're setting. However, administrators and SYSTEM users can still query this data. They just need to do it through the registry directly.
What is Huntress Doing?
For those that have Huntress Managed EDR, you know it's our goal to provide the best coverage we can for our partners and customers, and to be transparent about everything for you. With that in mind, the following outlines what the Huntress Windows EDR team has implemented:
Telemetry:
- Collect telemetry on exclusions being set via registry operations. We wanted to do this because no matter how someone sets an exclusion, it needs to be set in the registry. This allows us to see if someone sets this exclusion via PowerShell, WMI, GPO, or manually.
- Collect telemetry on the HideExclusionsFromLocalAdmins setting is set via registry operations.
Detections:
- We have built-in detections for suspicious exclusions set on the machine. This goes for known bad binaries and also suspicious directories like C:\, Temp, Downloads, etc.
- Detections around the HideExclusionsFromLocalAdmins setting being set.
Conclusion
At Huntress, we want to provide the best security we can for you. Part of that process is looking at older technology and seeing if adversaries are still using it to help them be successful in their campaigns. We identified that MDAV exclusions are used more than we originally thought. These techniques give attackers an edge, and we wanted to address that. To do so, we dove into this tradecraft, identified how attackers can and have executed this, as well as identified ways that attackers could execute this activity in ways we haven’t quite seen so that we have proper coverage.
We wanted to provide a write-up on this initiative and how we've gone about providing better understanding and capabilities into our endpoint agent to help secure you better. We hope you've enjoyed this. As always, feel free to reach out if you have any questions, or book a demo to see these capabilities in action.


